
Hardware tests are pytest tests
Power the real board, flash it, feed it signals and check what it did. On your desk and in CI.
Free sample board. Every request is reviewed case by case.
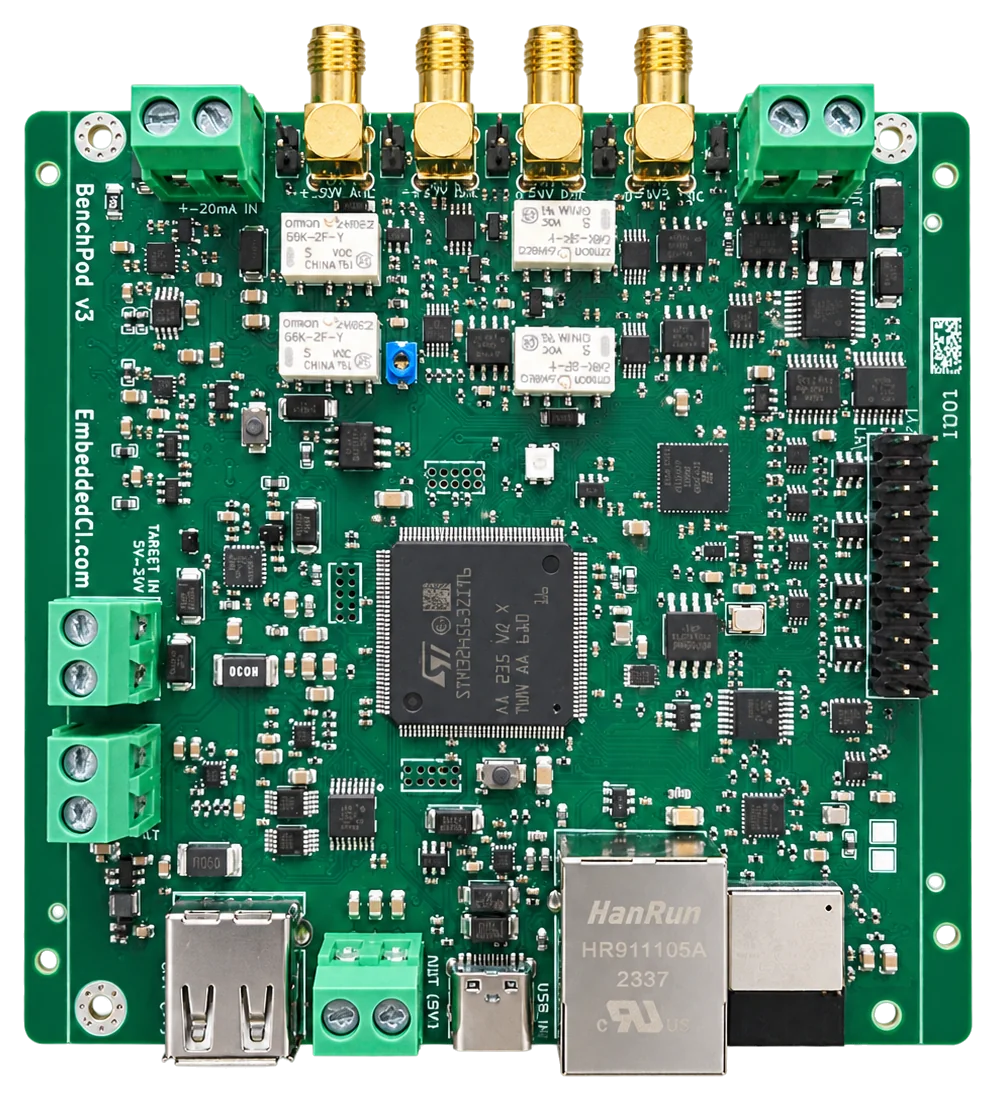
BenchPod: our compact instrument that makes target hardware CI ready, with digital I/O and 16-bit analog I/O (400 kSPS, ±30 V).
What the pod sends and measures
The BenchPod powers your board, flashes it, drives its inputs and buses, and measures what comes out. One networked box.
Sends into the board
Power. Switch, cycle and cut the target: internal 5 V or your own supply.
Firmware. Flash over SWD and pull reset.
Analog signals. Voltages and waveforms, up to ±12 V. Replay a recorded signal.
4-20 mA. Drive a current loop like a field transmitter.
Sensors. Play any I2C, SPI, UART or analog sensor you describe in YAML, or one from the library. Change readings and inject faults while it runs: no answer, a stuck bus, bad data.
Buses. I2C and SPI master: read and write a chip’s registers, scan the bus. GPIO levels and timed pulses, strap pins, UART input, CAN and CAN FD frames and replies.
Measures what comes out
Current. Per rail and for the whole pod, over a whole run.
Logic. 14 channels, I2C, SPI and UART decoded.
Analog. 16-bit capture, up to ±30 V.
Console and CAN. Boot logs, 4-20 mA input, CAN traffic.
What teams test with it
Peripheral bring-up. Read and check a chip’s registers over I2C and SPI.
OTA and bootloader. Cut power or pull reset mid-update, then check it rolls back.
Bus faults. A stuck I2C bus or a sensor that stops answering. Does the firmware recover?
Boot and strap pins. Hold a boot pin through reset and check which mode the board starts in.
Timing regressions. Measure stimulus to response on every commit and catch the slow one.
Mixed-signal tests. Bus traffic, an analog input and a capture, in one test.
Tell the pod which pins your board drives and it refuses to drive against them.
Analog and 4-20 mA come with the analog module. Everything runs through one API: Python, CLI, MCP or the desktop app. Meet the BenchPod
A test
Emulate the sensor, boot the board, wait for it to say it is up.
@pytest.mark.hardware
def test_boots_with_sensor(benchpod_target, benchpod_sensors, pins):
    # The pod plays the BMP280 the firmware expects on its I2C lines
    benchpod_target.enable_pullup(pins.pin_1, pins.pin_2)
    benchpod_sensors.start("bmp280", pins={"sda": pins.pin_1, "scl": pins.pin_2},
                           values={"temperature_c": 22.5})
    cap = benchpod_target.power_cycle_and_capture(duration=6.0, until=r"APP_OK")
    assert cap.match("APP_OK")
Or drive the bus yourself: the pod is the I2C master.
def test_chip_id(benchpod):
    benchpod.enable_pullup(1, 2)
    with benchpod.open_i2c(1, 2, hz=400_000) as i2c:
        assert i2c.read_reg(0x76, 0xD0) == b"\x58"
To see your own transaction on the wire, capture while you send: capture_la(send=i2c.send(...)).
pip install embeddedci
pytest --benchpod-connection=192.168.1.213 --benchpod-firmware=build/app.elf
How it works
01
Wire your board to the pod
Power, SWD, UART and the signals your tests drive and watch.
02
pip install embeddedci
The pytest plugin and its fixtures come with it.
03
Run pytest
On your desk, and in GitHub Actions on every push.
Hardware tests in GitHub Actions, with no stored secrets.
Questions
Put your board in the test suite
Write your first tests on your own board with a free sample, or book a call and we build the suite with you.
Free sample board. Every request is reviewed case by case.